Whether you’ve just started your own blog (congratulations) or your current site needs a facelift, creating your very own blog header for the first time can seem daunting if you’re not already a PhotoShop expert. While paying a professional is desirable, spending a sum of money on a custom design is just not an option for most bloggers. Your only real option is to design something yourself. But where do you start…?

Luckily, there’s wealth of fantastic, fabulous and not to mention FREE resources that will help you along your way. Here are some of my favourites…
But first things first….
You need to find your blog header’s dimensions
Before designing, you’ll need to find out your blog’s header dimensions. The dimensions can vary depending on your platform/theme. There are a couple of ways to find out your header’s dimensions, I’ll outline them below. One of these methods should work for you –
Method 1) Check if the header dimensions are listed in your website’s admin area or layout customiser area.
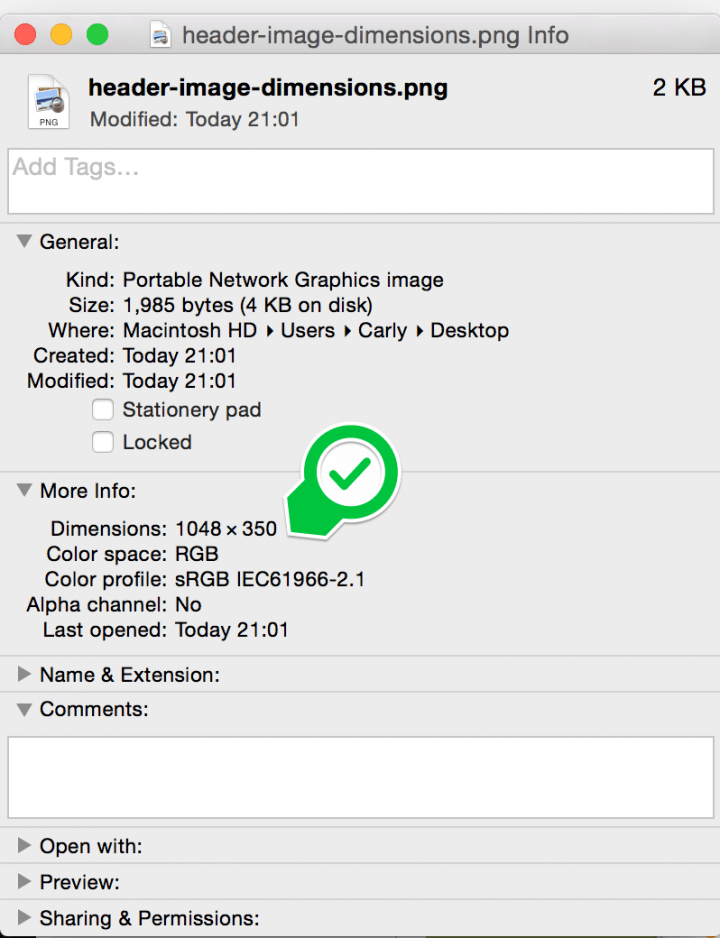
Method 2) Load up your website and right click the current header. Save the image to your computer. Right click the image and choose “properties” (Windows) or “get info” (Mac). The dimensions should be listed.

Finding header size on mac
Method 3) If you’re still struggling, use your browser’s developer tool to grab the image dimensions in your browser. If you use Google Chrome, there’s a great tutorial for bloggers here. (Internet Explorer, FireFox and Safari all have similar tools available too).
Struggling? Come ask on our Facebook page. I’ll find those dimensions for you.
On to the design tools and resources!
Canva
Canva is a free design tool that’s easy to use and full of beautiful templates. You only pay for using their stock images (which, you can even replace with your own free images if you prefer). Their stock images are very affordable, only $1 (about 80p) a piece.
You can either choose to set “custom dimensions” for designing (there’s a link top right once logged in). Or scroll through the different templates and choose one that is the same size as your header.
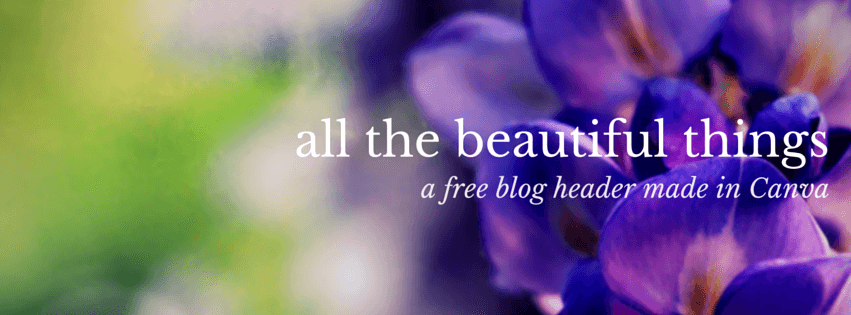
Here are a couple of really quick examples that I made using Canva, along with step-by-step instructions so you can recreate them. The first is a simple and minimalist design, these kinds of headers are very trendy at the moment. I chose the custom dimensions option, this header is 960 x 200px.

I entered my custom dimensions (960px x 200px). When the canvas loaded up, I went straight to
search > illustrations in the sidebar. I scrolled through the illustrations until I found these lovely floral embellishments. I resized and rotated both graphics until I was happy (pro tip: watch for the numbers that pop up as you resize and rotate, ensure both embellishments are the same.) Using the options panel, I changed the flowers’ colours to match my own palette. I added some simple text. Done.Here’s my second example. I created this from the “Facebook Cover” templates.

I chose the “
Facebook Cover” templates option. (Don’t worry about the profile picture, that won’t be there when you download your header). I selected the design from the left hand menu, which you’ll notice is full of different template options. I changed the wording and gave my subtitle a slight opacity (select “transparency” from the font options when typing). Note: If you don’t like the floral background, delete it and add your own photo instead. Play with the filters and blurring until you’re happy. Turn the PAID templates into FREE ones by switching Canva’s stock image with one of your own photos. Canva will always tell you if your design is free or paid before downloading. If you do decide to use one of Canva’s paid images, they only cost $1 (about 65p) a piece.Tip: Choose your colour scheme by browsing palettes at ColorLovers.
Resource: If you use WordPress.com, this blog post tutorial should be pretty handy.
PicMonkey
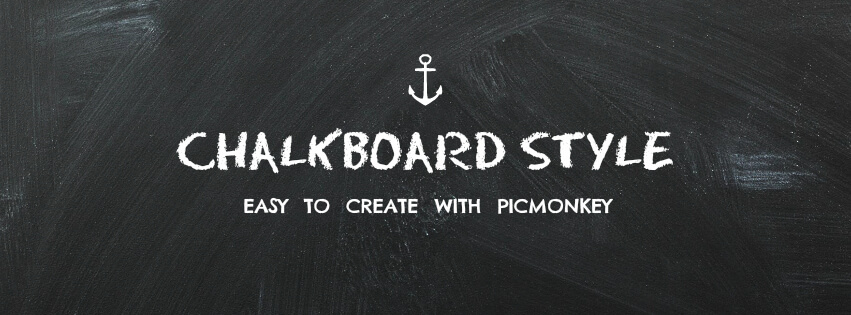
PicMonkey is another great design and editing tool. It’s free to use, but you can go “premium” to access more icons, fonts and backgrounds. While it doesn’t have pre-made templates like Canva, but there are plenty of scope to create nice looking headers using the tool options and your imagination. I whipped up this design in about five minutes flat (I’m sure you could make something far better if you put aside an hour or two for designing!)

I clicked
design > custom dimensions and set my size. I clicked textures > boards to create the chalkboard effect. I set both the saturation and fade to zero to make the chalkboard look darker. I used one of the free icons from the “overlays” section, coloured it white and resized it to make it smaller. I used two free fonts for the title and subtitle, Eraser Dust and RNS CamilaResource: Use Blogger? 21 Rosemary Lane will teach you how to create a photo collage blog header using PicMonkey.
I'm learning how to create my own blog header - come check out this page full of tutorials! Click To TweetMore tools & resources:
Smashing Magazine have given away 45 different header backgrounds that you can edit using PhotoShop, Canva or PicMonkey. Here’s my favourite from the collection, a rather serene-looking header featuring clouds!

Designed by Sergej Gorodenskiy.
There’s a whole section on Pinterest devoted to blog headers, full of tips, tricks, freebies and ideas. Browse it here.
Angiemakes.com has a freebie section full of girly graphics that cannot be missed, featuring water colour flowers, feathers, wreathes, phrases etc. Download these graphical elements and use them in your header design.

WonderForest offers tips for creating a simple but attractive blog header. The article includes plenty of examples to get you started.
If you use PhotoShop, head over to FreePik’s header template archive. Also check out their other free graphic design elements (like buttons, banners, icons etc) for use in your design.
More freebies included free stock photography and graphic design elements on my resource page, located here.

Great tips, I would never have dreamed of having a go at this but with this guide I think it would be so much easier.
Aw, I’m glad you like the tips. I love how Canva makes design so easy – it’s probably my #1 tool right now 🙂
Waw, thank you for your tips, I’m a PicMonkey and Canva girl but sure will check out the others you have mentioned.
Happy Holidays to you and yours
This was exactly what I was looking for since I’m just starting out. You saved me some money! Thank you!
Yay, I’m so pleased it helped. Thanks for the great feedback. Good luck with your new blog.
Great post. It was the most helpful one among the other I found online!
I’ve been googling the internet for a few related information, but
haven’t found anything as good as what you have here.
I must say i, need to boost my Tumblr design. What do
you utilize here?
Thanks. Found this very useful 🙂